Automated curtains project
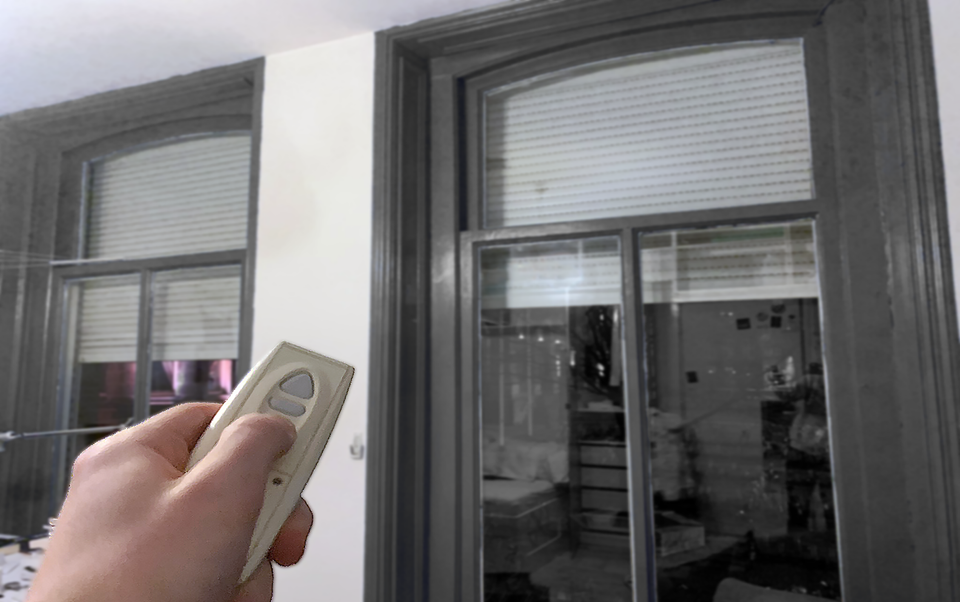
An idea sprung up in my mind some while ago. In my student dorm, I have electric curtains. They can be operated using a little remote, allowing one to open or close the curtains. This is pretty useful, because I don't even have to get out of bed to open my curtains – I can just use the remote. But the remote uses radio waves to operate the curtains - and I have a Raspberry Pi laying around, doing nothing. What if I could operate the curtains using my Raspberry Pi? Such, that the curtains open at a certain time in the morning. In this way, my curtains would function as an alarm clock! In this project, I did exactly that 😉.
How
First, I have to figure out at all how to do this. Taking a look at the curtain remote, I found the brand to be 'Somfy'. After some Google image searches I found the name of my remote model, the Somfy Telis 1-RTS:

I want to emulate the RF (Radio Frequency) signal the remote is emitting. Such that, instead of pressing a button on the remote, I can control the curtains programmatically using code. Then, because the Raspberry Pi will always be on, I can configure certain times to open/close the curtains.
But surely, other people have wanted to do this too. Somfy is a popular brand for electric curtains after all. So, I searched, and found Github project containing code to control the curtains using a Raspberry Pi, if correctly assembled. Let's start!
Preparation
I need a couple things to make this work.
- Raspberry Pi (I am using a Raspberry Pi 2011 edition - Model B)
- RF (Radio Frequency) transmitter (with an oscillator at 433.42 Mhz)
- Cables to connect the RF emitter to the Raspberry Pi
Most parts could easily be ordered through Ebay. However, Somfy did something smart in their product. They intentionally set their oscillator frequency to an odd number, 433.42 Mhz. Most other RF emitters run at 433.93 Mhz. There are, luckily, some places you can order a 433.42 oscillator. But only the oscillator. This means we are going to have to do some soldering to replace the oscillator. After a couple weeks, my parts arrived.
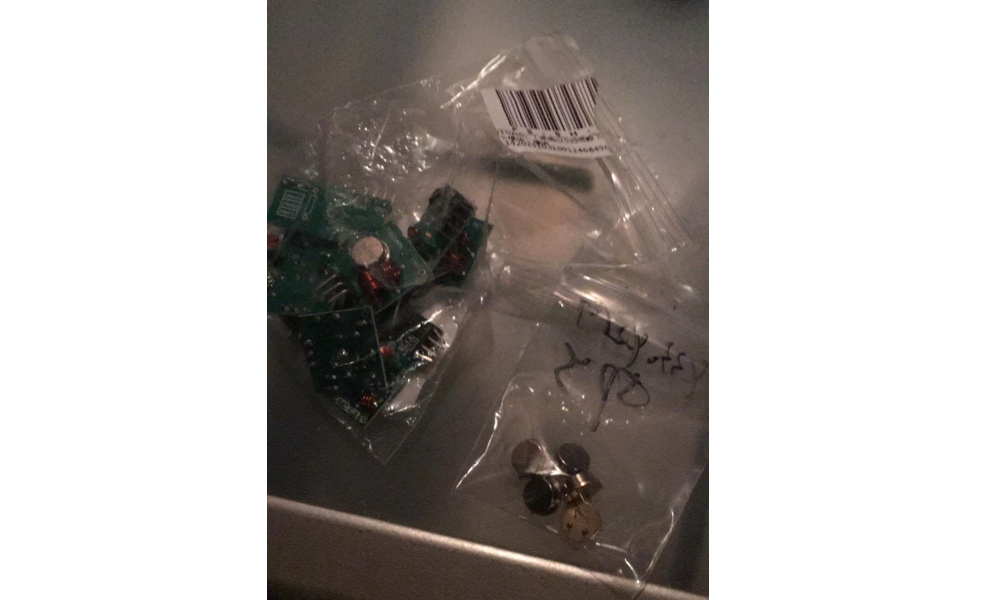
Building the Pi emitter
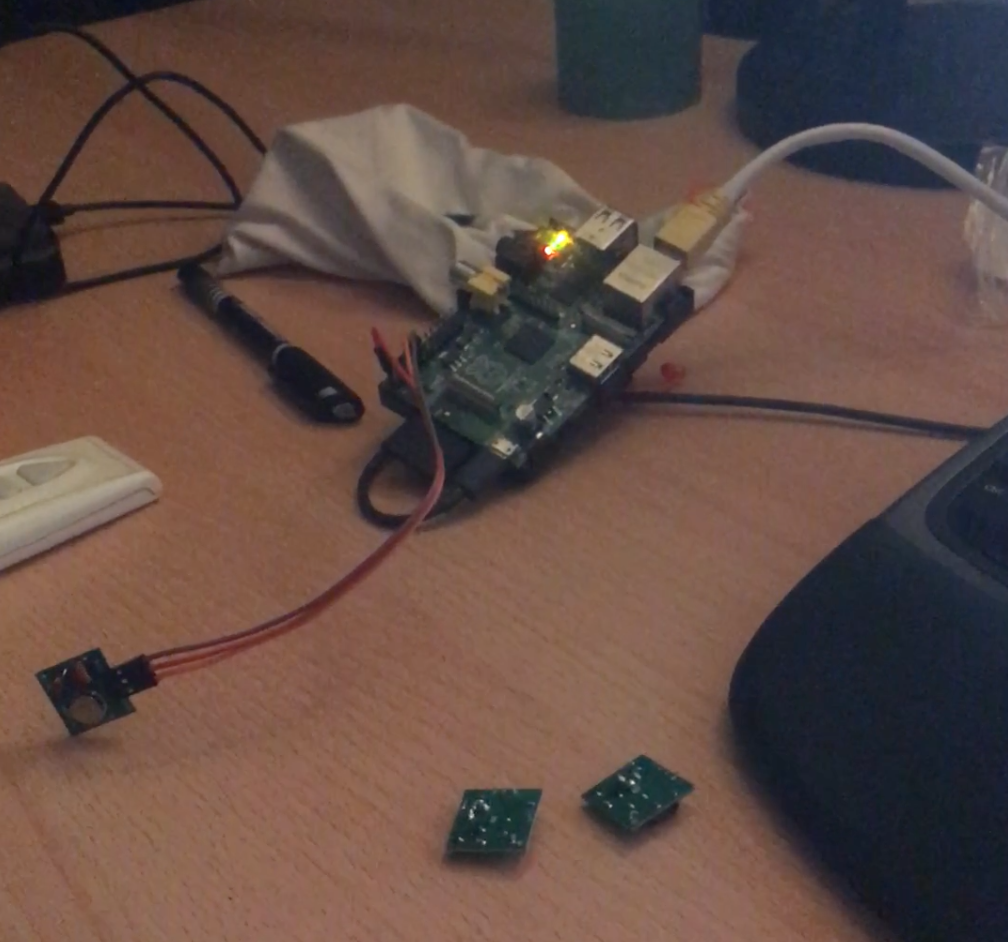
My friend happened to possess a soldering set, so after a quick visit I managed to solder the correct oscillator onto the RF emitter board. Using a set of cables, I could attach the RF transmitter to the Raspberry Pi 🙌🏻.
I also bought an extra enclosure to keep the thing a bit more safe:
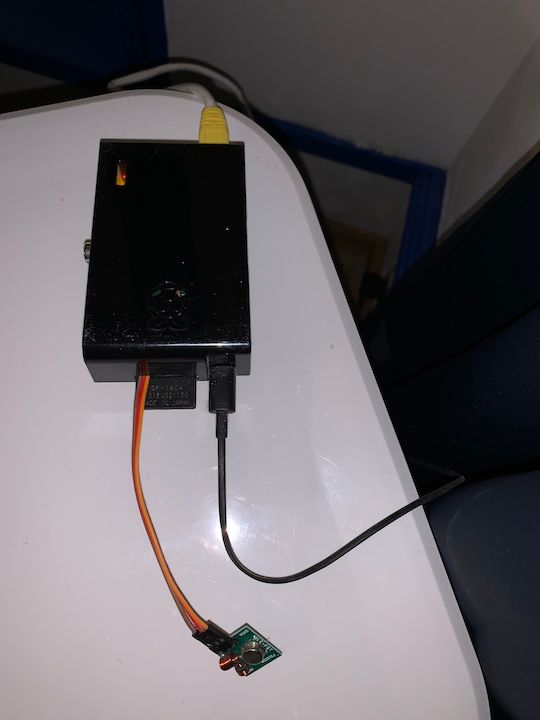
Now all there's left is configure the correct software on the Raspberry Pi. Using the Github project I found, I was able to install the software and make the software automatically start on a reboot. It has a pretty neat interface, allowing one to set CRON jobs to open/close the curtains. In non-nerd speech we would just call this 'an alarm' 😅.

I now just had to execute a certain pattern of button presses to emulate pairing a new remote. And then ... it worked! 🎉
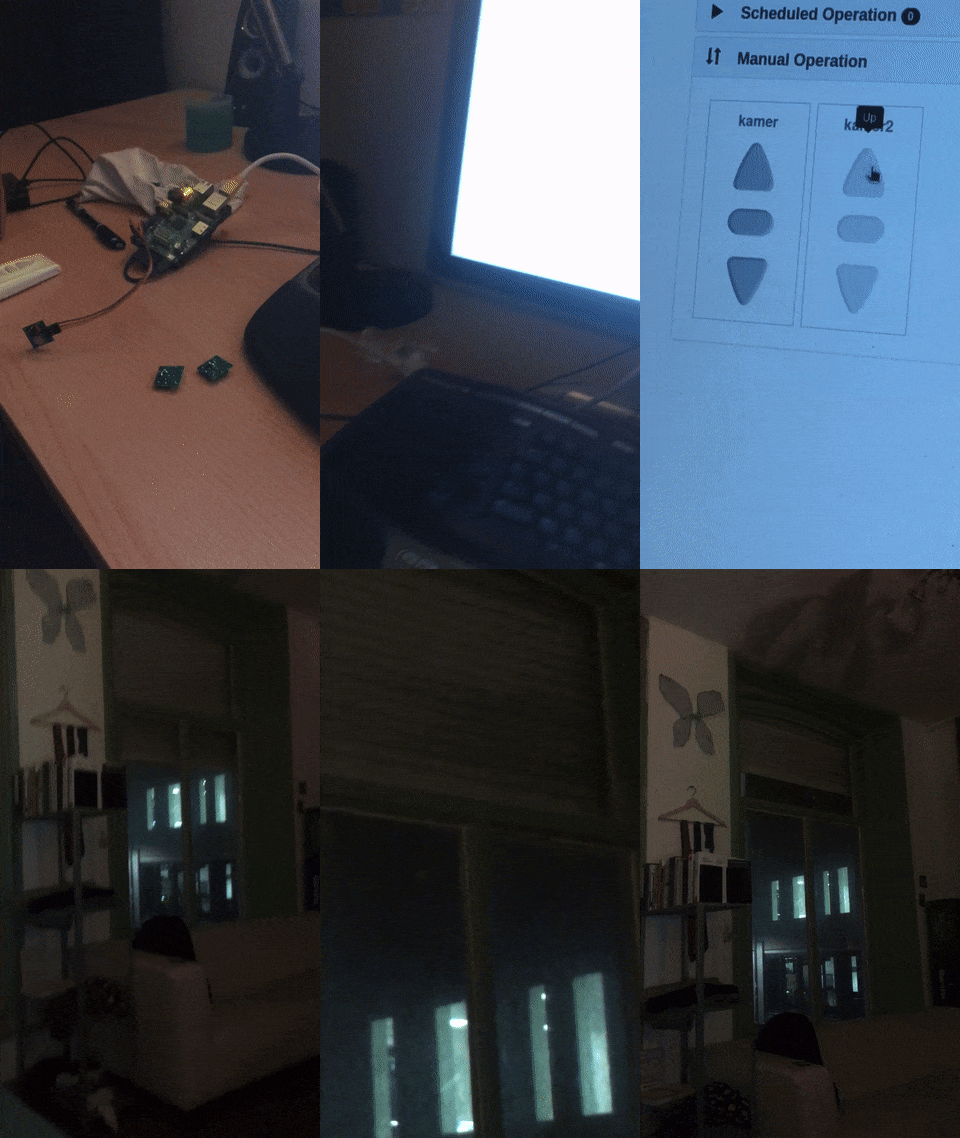
Now, I can go to sleep in darkness, and wake up with sunlight hitting my face 🌞. Awesome! The project has succeeded and the cool thing is I have been using this every day ever since. The cool thing about doing a Computer Science degree is when you can apply your knowledge to solve real-world problems. When I leave this student dormitory, I will leave the Raspberry Pi right where it is, so others can also benefit from automated curtains 😊. Cheers!